From all of us here at the Barkyard Railroad, a Happy Thanksgiving to all of you! We spent the morning in traditional fashion, watching the Macy’s Thanksgiving Day Parade. But when the National Dog Show comes on, it’s time to get busy doing something else. For Ann and Nick, it’s tending to the feast, preparing the turkey and all the trimmings. For me, it’s back to making snowmen.
Snowmen? In Florida? How is that possible? Well, I have two answers, but only one of them is correct. Every year Mount Dora sponsors “Snow In The Park”, where snow machines make snow for the kids to play in and ice for the sled runs down the hill. The kids have a blast! And maybe there’s enough snow to build a small snowman. But that’s closer to Christmas and you’ve probably already guessed that’s not the right answer.
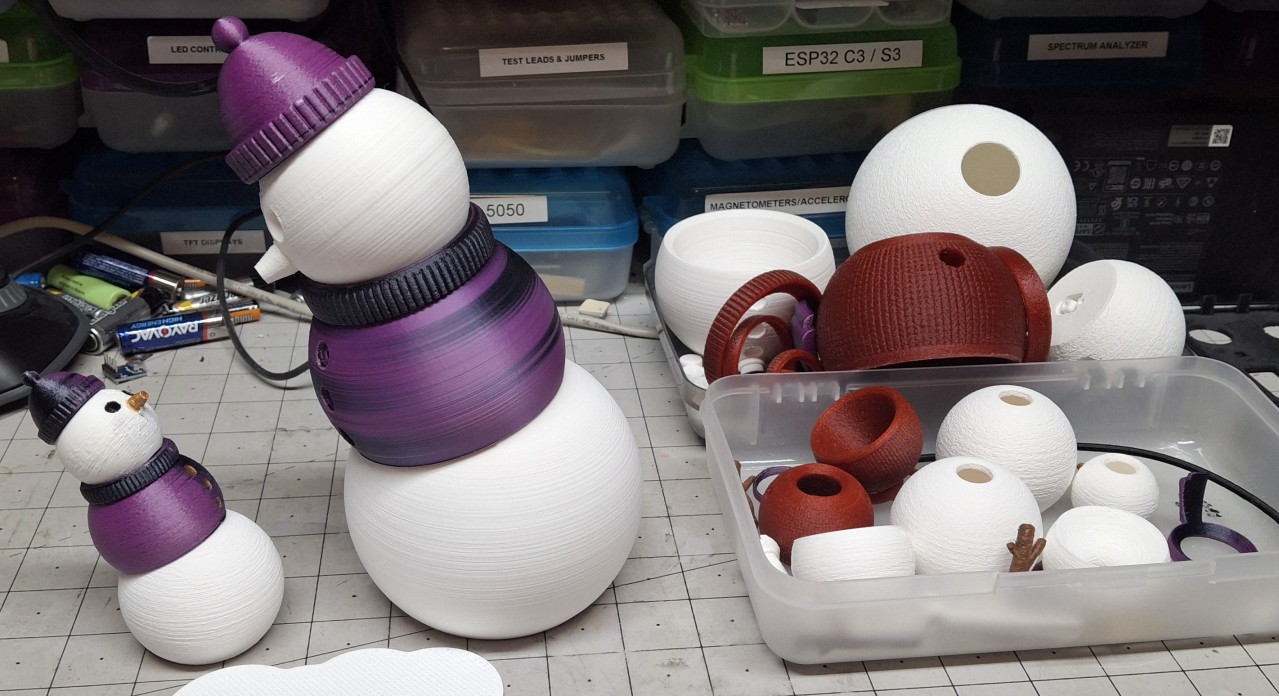
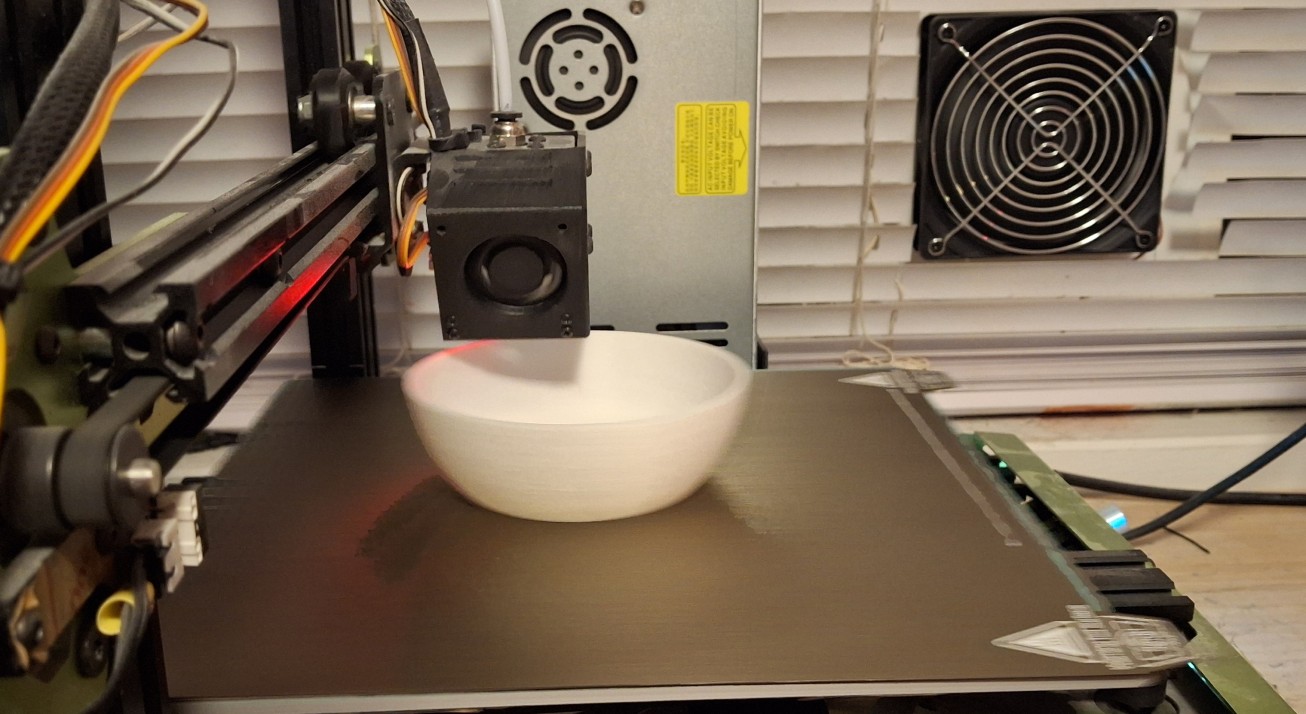
The snowmen I’m making are the 3D printed kind! Posable “fidget” snowmen to be exact. I stumbled across them while searching the Internet for Christmas STL files. I wanted to print something special for Ann as a surprise. That surprise turned into “Don’t make any more of these.” But I’m getting ahead of myself again.
A New Project Major Production
I actually started this “project” a few weeks before Thanksgiving. It’s a good thing, too, because it soon turned into a major production! First was the search for the “correct” red and green colors. Not sure what they’re called, but I was looking for a particular red, almost a maroon color. And the green, almost a bluish green, but as deeply saturated as an emerald green. They were very popular colors for ribbons and gift wrap many years back.
I found a set of silk multicolor filaments that were color/black, with changing concentrations that I thought would work. I started with the purple/black, but quickly discovered that style filament is best suited for items with many varied and intricate details, not a smooth snowball shape. Oh well, now I have four spools of interesting filament to use with other projects.
I found some other interesting filament colors, including silk green and glitter white, but the aurora red is the closest to that red I’m looking for. The aurora green is still a bit more green than I’m looking for, but close enough. On a whim I grabbed some aurora blue and aurora purple as well. The aurora purple came after the abyssal red, which looked more purple than it really is.
Ruby red, more glitter white, and other glitter filaments like “funfetti” and “mint star stuff” too. Overall, I bought more than 20Kg of filament, some because of long lead times on the ones I really wanted. I used up at least 6Kg of that 20Kg, more if you count what I already had on hand. Two spools of glitter white. Nearly all of the aurora red and aurora green are spent. An entire spool of “funfetti”, and nearly all the glitter silver.
Add two spools of just plain white, and the remaining black I used up and had to open a new one of, all of which I already had on hand. That reminds me, I need to check to see if that was my last spool of black and order more. I even bought two different colors of brown, a darker coffee brown, and just plain brown which will hopefully match the chocolate brown color of the dwindling spool I already have.
3D Printer Woes
Not even a week into it, the old Tevo Tarantula Pro printer broke down on me again! I was already having a helluva time printing that old Mika3D gold filament. For whatever reason it already seemed to be under extruding, but this time it clogged the nozzle. I can’t really blame the printer when it was probably a combination of that dusty old brown filament together with the underperforming gold.
I thought I learned my lesson last time by running that dusty old brown filament through a chunk of sponge to clean it, but it may have been entirely from the excessive number of retracts printing the gold knitted sweater. Whatever it was, I could tell the nozzle was about to clog when it could barely print the remaining collar portion of the snowman’s sweater.
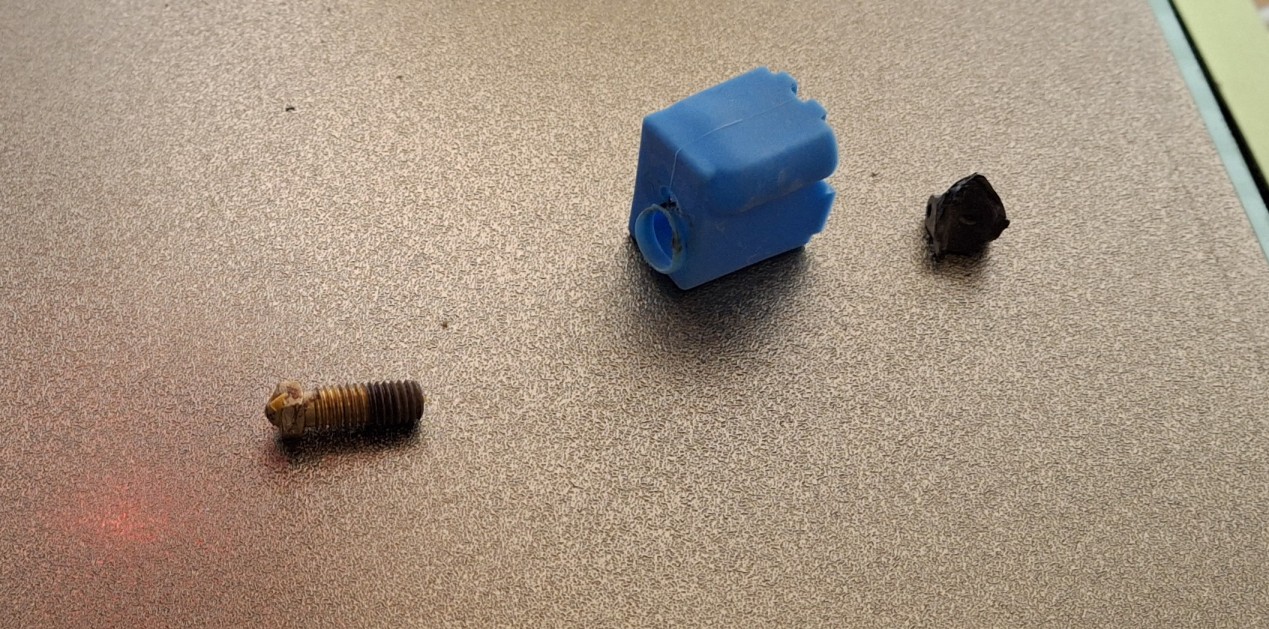
I tried to just extrude some of that gold filament when that print was finished, but no dice. That nozzle is totally clogged. When I pulled the filament out, almost “cold pull” fashion, a large part of the end was dark and charred. Thankfully I have a large number of replacement nozzles, purchased after my last encounter that used up one of the last ones I had.
While dealing with that, I disturbed part of the crumbling cooling fan duct on the print head assembly, which came loose while printing the next day. The rest of the duct eventually dropped down, catching the print and causing a terrible tangle of filament, all melted around the nozzle. Removing that tangle before it cooled any further removed what remained of the duct.
This time I remembered I had spare ducts, but unfortunately, they don’t fit. They’re right angle, but the hot end assembly requires a more obliquely angled duct. I found plenty of files online to print my own replacements, but the only filament I have won’t withstand the heat around the nozzle. To print ABS or ASA requires an enclosed print volume, which neither printer supports, not to mention the toxic fumes.
More 3D Printer Woes
To further add to the stress, now that the old printer is working again, the new printer decides to start acting up! It’s back to stopping mid print, moving the print head to the front corner, then spewing filament into the air! The worst part is I have no idea why. It’s nearly impossible for me to read the front panel display when it’s tucked away in the back corner.
After cancelling three failed prints straight and the blasted thing all of a sudden forgetting the Z-Offset, I just shut it down in disgust. When it forgets the Z-Offset, it essentially forgets how far away the nozzle is from the build plate, spewing filament more than 3mm above the build plate instead of right down on it. As frustrated as I am right now, I know it’s best to just shut it down and walk away.
I have the entire next week off for Thanksgiving, so I’ll look at it then. Once the work laptop is shutdown and stowed for the week, I’ll have the workbench available for more than just an evening sitting. Before I can mess with the printer, I need to construct an exhaust fan for my office. Ann’s concerned about the fumes from all the 3D printing. I’m not as worried about it, but agree an exhaust fan is a good idea.
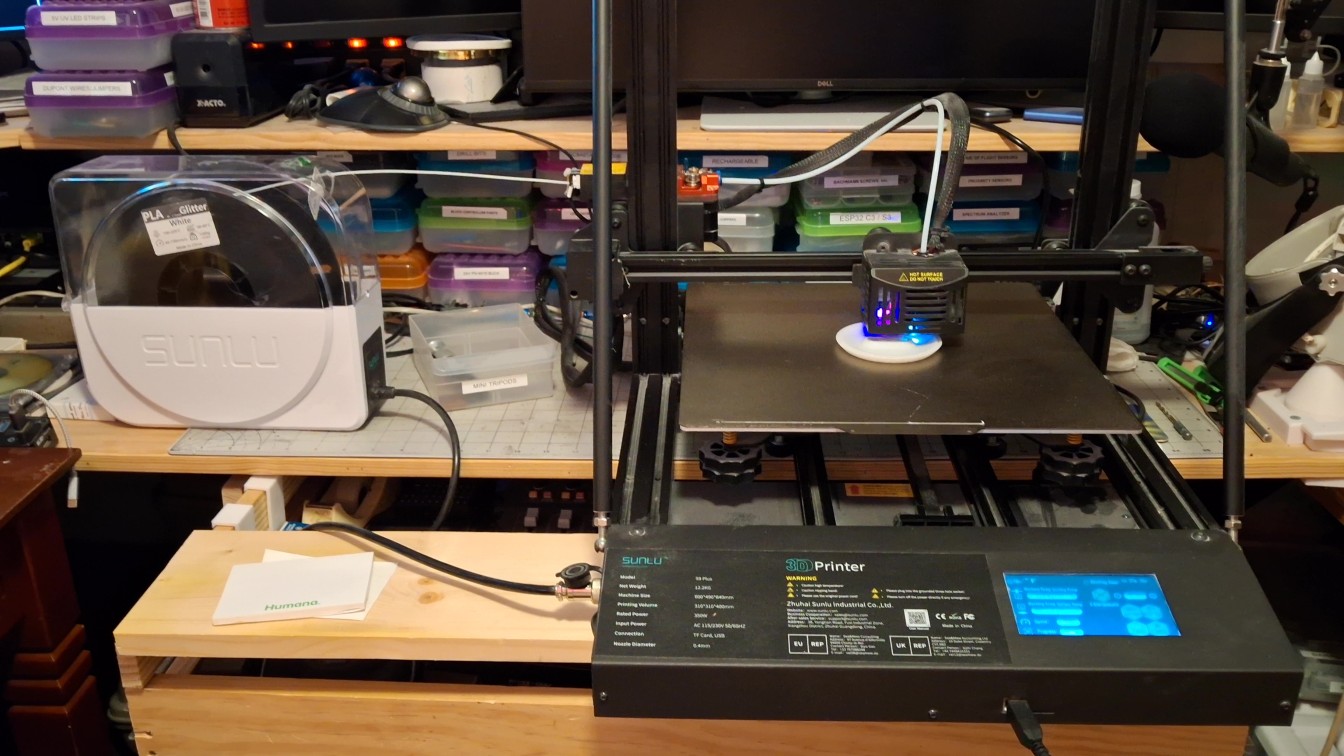
But that’s another story for another time. For now, it takes the weekend to get the exhaust fan worked out, installed, and operational. Starting Sunday night, it’s time to get the new printer sitting on the workbench, along with its dedicated filament dryer. It takes up a good chunk of real estate, extending beyond the countertop, with the front panel and power supply resting on the keyboard shelf.

This is a new experience for me. I can actually see the front panel display clearly. And now the filament dryer is straight in line with the filament runout sensor and extruder, not beneath it at an abrupt angle, relying on the bearings in the sensor to guide it. Even so, I notice that sensor is loose. So loose, it’s about ready to fall off! Maybe that’s been the issue all along?
With it loose like that, every retract moves it up and down and back and forth, I’m guessing causing it to report an out of filament condition. Time will tell, but for now, it’s printing just fine! It continues to print just fine all through the night, non stop. I continue to print without a hitch all day Monday with it sitting on the workbench. Looks like it’s fixed. Time to shut it down and put it back on the self where it belongs.
Again? Seriously?
Not long after starting the first print the problems are back! It doesn’t make it more than a few layers before it starts that nozzle clog clearing behavior, moving to the front corner and spewing filament midair! But this time I’m paying attention to the display screen, which is telling me to check the filament. Unfortunately, no matter what response is given, it cancels the print, at least internally it thinks it did.
Unfortunately, that doesn’t make any difference to OctoPrint, which happily continues printing. It continues to send G-Code commands to the printer, while the printer thinks it’s idle. I observe similar behavior when cancelling the print from the front panel display. It doesn’t communicate with OctoPrint to tell it to stop sending commands, but it’s already turned off the the bed and nozzle heaters.
I learn the hard way that the “Reset” from the front panel is effectively a “Reset to default values”, not just a soft reset. That’s why it keeps losing its mind and forgetting the Z-Offset! The biggest problem is the printer always assumes it’s printing locally, from a memory card it doesn’t have! It has no concept of remote printing through the USB interface, other than to respond to the commands sent over it. WTF?
Time to check for updated firmware, which ends up a frustrating exercise in futility. Not only is there no firmware update available, they appear to no longer support the printer, if they ever did at all. You bought printer? So sorry, you on own now. Want to buy 3D printer? We sell you 3D printer. You want to buy new 3D printer? Filament? You want to buy filament? We sell you filament… Yeah, that bad.
Good luck even finding the firmware source code, let alone a supported, updated version. For the price I paid, I can’t really complain though. I find a number of online packages to build my own version of the firmware, but don’t really have time for that right now, if ever. What I want right now is to find a way to keep this POS from mistakenly thinking there’s a problem with the filament.
Jane! How Do You Stop This Crazy Thing?
I’m researching how to tell a 3D printer cancel a print, short of using the front panel. Unfortunately, the firmware also homes the blasted thing for some reason, and in an uninterruptable fashion! All the display says is “Wait patiently while…” Yeah. Sure. Why not? It turns out there really isn’t a way to cancel, short of the end G-Code that sends the turn off heaters and motors commands. My Cura slicer settings already have that setup. For both printers.
After more research, looking for a way to turn off the nozzle clog “feature”, I discover that it’s more likely the runout sensor is flaky. Alright, so how do I turn off the runout sensor? Turns out there’s more than just a runout sensor. It’s also an extruder jam sensor, and that’s the most likely culprit here. There’s an M-Code, “M412 S0”, that will turn it all off. It’s now part of the start G-Code sequence for that printer.
That’s the fix I was looking for, and it’s been working flawlessly ever since, save a few instances where build plate adhesion was woefully lacking. But I did learn NOT to cancel the print from the front panel. As far as it’s concerned, it’s just one, days long print! It also avoids that annoying “Wait patiently…” message with the added aggravation of leaving the motors ON!
Back In Business
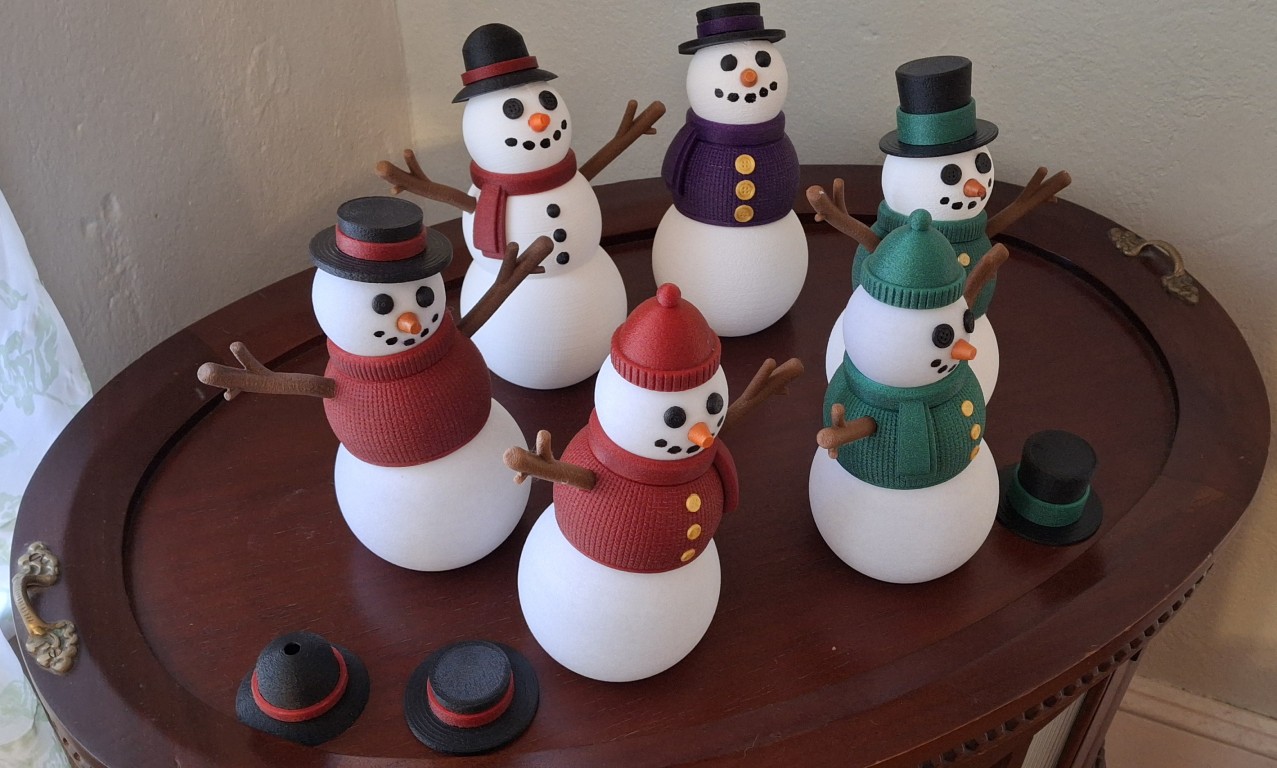
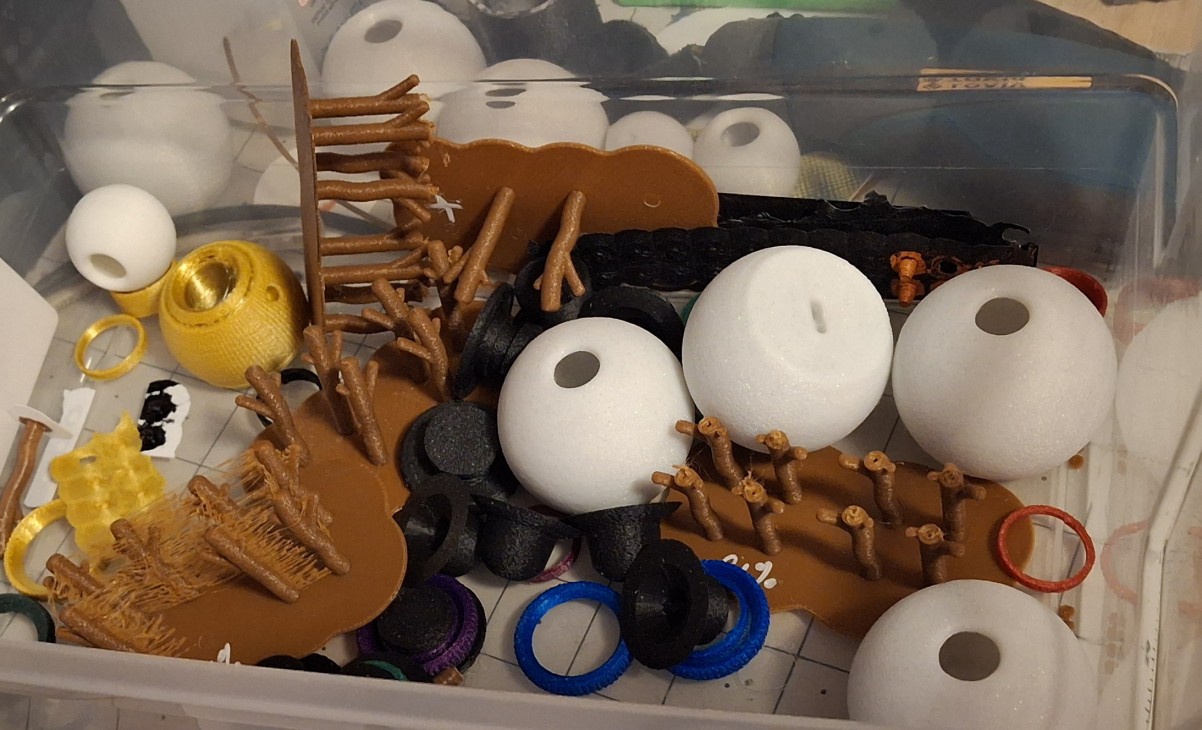
Full speed ahead with both 3D printers running 24/7, or as near to that as possible. The longest prints are a little over six hours long, so I kick those off before going to bed. When I wake up in the middle of the night, I check to see if any finished, then kick off another print and go back to sleep. It takes nearly two days to print all the parts for the large snowmen.
With two printers, this approach cuts that to less than a day. The idea is to print enough to send some to my family and my teammates at work. By now I’d received all the filament except the new spool of glitter white. It’s long lead so I’m constantly back and forth with whether I’ll need more when I run out or just buy it now and still have to wait for it. I decide the sooner the better.
Part of that decision was based on a spreadsheet I created to track all the parts combinations and the amount of filament used by each, mainly to track what I’d printed and assembled so far and who they were allocated for. I even started tracking the completed snowmen with pictures of each attached to each combination entry. It’s not perfect, but it’s a start.
I kept up this pace until another nozzle clog on the old printer stopped it. This time I was printing arms, another print with LOTS of retracts using that dusty old brown filament. This time the clog was so bad I had to basically stretch the filament until it snapped trying to pull it back out. Never had that happen before, this time inside the heat block itself!
I overreacted and turned off retraction in the slicer entirely, but all that did was leave me with a stringy mess. I decided to restore the original settings based on the generic PLA profile and that seems to work better. At least it not stringing and hasn’t clogged since then.
Moving On
My time off for Thanksgiving is coming to an end. Time to start binning things up in preparation to relinquish the workspace to the work computer. I’ll still have the evening sittings, but it’s just not the same. Having to pack up a project after just a few hours work doesn’t allow the same freedom as having it strewn across the workbench with the ability to experiment with it when an idea pops up.
With that, I hope you’ve enjoyed this quick view of our Christmas snowmen production. I’ll follow up with more detail for the Christmas post, and maybe even a new “Rough Cut” video for the New Year!
Not Sponsored Disclaimer
I should mention, none of the links provided are affiliate links, nor do any of them sponsor me or the Barkyard Railroad in any way. They are the materials I used and are provided as a convenience for the reader.
If you have any questions or concerns, please feel free to comment on this post. You’ll need to create a user account to do so, but we don’t use any personal information for marketing or to spam you (see our privacy policy). You’ll receive a verification email. Reply with the link provided to verify your email address. After that, it’s all automatic. No waiting on moderator approval! No spamming your inbox with useless advertisements and “Special Offers”. None of that nonsense.
More to come. Stay tuned!